
Configuration
Defining Channels
Channels are based on Shared Contexts - named objects, holding cross-app data in the form of key/value pairs. The Glue42 Channels are defined in a channels.json file located in %LocalAppData%\Tick42\GlueDesktop\config. It contains an array of objects, each one defining a different Channel.
The following example demonstrates a minimal definition of two Channels - red and blue:
[
    {
        "name": "Red",
        "meta": {
            "color": "red"
        }
    },
    {
        "name": "Blue",
        "meta": {
            "color": "#66ABFF"
        }
    }
]
Each Channel object must have the following required properties:
| Property | Type | Description |
|---|---|---|
"name" |
string |
Required. Unique ID of the Channel. |
"meta" |
object |
Required. Meta data about the Channel. The minimum you must specify here is the Channel color. You can also define other meta data which will be visible to all apps using the Channel. |
The "meta" object has the following required property:
| Property | Type | Description |
|---|---|---|
"color" |
string |
Required. The Channel color, displayed on the Channel Selector UI and on each app using that Channel. Can be either an HTML color name or a hexadecimal color code. |
You can define any number of Channels in Glue42 Enterprise for your apps to use.
The following example demonstrates adding a custom black Channel to the already existing list of Channels in Glue42 Enterprise:
{
    "name": "Black",
    "meta": {
        "color": "black"
    }
}
Channel Selector
To add the Channel Selector to your window, set "allowChannels" to true in your app configuration file under the "details" top-level key:
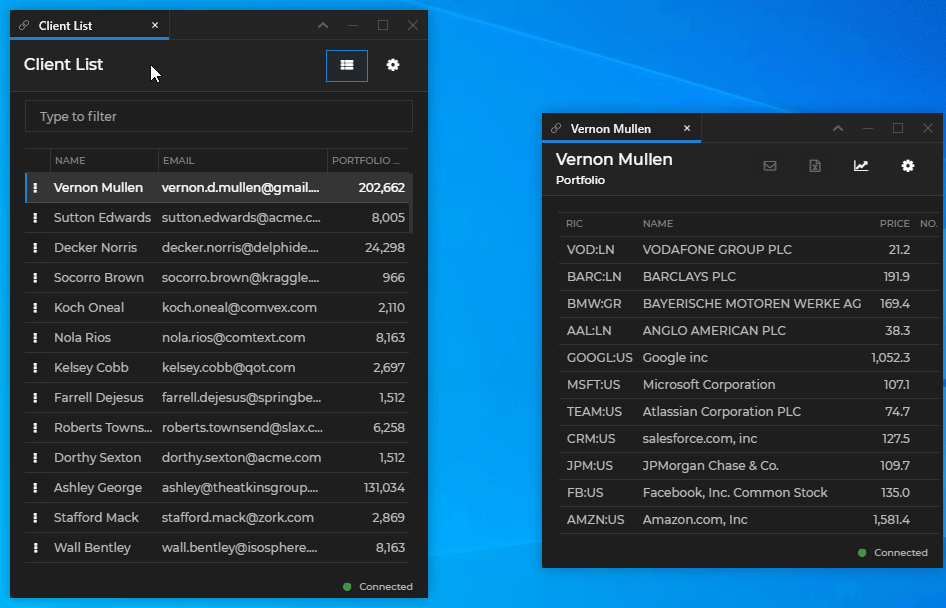
{
    "title": "Client List 🔗",
    "type": "window",
    "name": "channelsclientlist",
    "icon": "https://dev-enterprise-demos.tick42.com/resources/icons/clients.ico",
    "details": {
        "url": "https://dev-enterprise-demos.tick42.com/client-list-portfolio-contact/#/clientlist",
        "mode": "tab",
        "allowChannels": true
    }
}
In some cases, you may want to show the Channel Selector, but prevent the user from interacting with it. Set the "readOnlyChannelSelector" property to true under the "details" top-level key in your app configuration file to achieve this:
{
    "title": "Client List 🔗",
    "type": "window",
    "name": "channelsclientlist",
    "icon": "https://dev-enterprise-demos.tick42.com/resources/icons/clients.ico",
    "details": {
        "url": "https://dev-enterprise-demos.tick42.com/client-list-portfolio-contact/#/clientlist",
        "mode": "tab",
        "allowChannels": true,
        "readOnlyChannelSelector": true
    }
}
You can also set the Channel Selector as read-only on a global level from the system.json system configuration file of Glue42 Enterprise under the "windows" top-level key:
{
    "windows": {
        "readOnlyChannelSelector": true
    }
}
Note that the settings in your app configuration file will override the global settings in the system.json file.
Channel Mapping
The default Glue42 Channels are mapped to Channels (or other similar implementations) that other third-party apps may use, like the Bloomberg Groups used by the Bloomberg Connector, or the default FDC3 Channels.
The following example demonstrates how a Glue42 Channel is mapped to a Bloomberg Group and to an FDC3 Channel by using the "meta" object in its configuration:
{
    "name": "Red",
    "meta": {
        "color": "red",
        // Mapping to a Bloomberg Group.
        "blpGroup": {
            "name": "Group-G",
            "readDataFieldPath": "data.partyPortfolio.ric",
            "writeDataFieldPath": "data.partyPortfolio.ric",
            "read": "ric",
            "write": "ric"
        },
        // Mapping to an FDC3 Channel.
        "fdc3": {
            "id": "fdc3.channel.1",
            "displayMetadata": {
                "name": "Channel 1",
                "glyph": "1"
            }
        }
    }
}